
Pruning
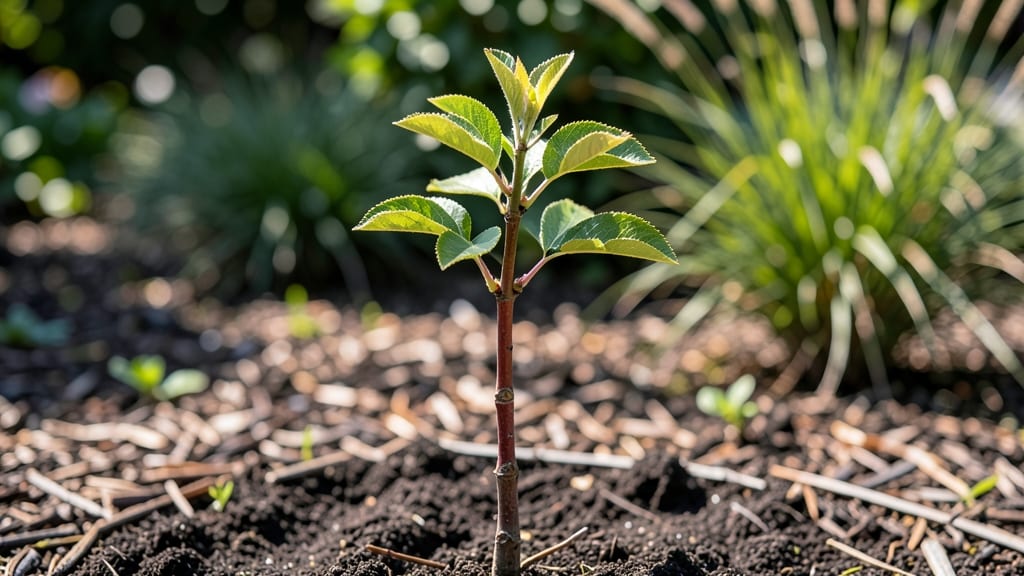
Cold-stratifying nectarine tree sprouts cuts weeks off your wait for that first sweet harvest. 🌱 I’ve watched impatient gardeners skip this step and wait months for germination—until I learned the trick of mimicking winter’s chill cycle, which unlocks faster, stronger growth right from the start.
The secret isn’t complicated: you’ll need a plastic bag, a damp paper towel, and your fridge’s crisper drawer. That’s it. No fancy equipment, just nature’s timing hack.
After 4-6 weeks of cold treatment, those seeds burst into life with 90%+ success rates—far better than the hit-or-miss results of direct planting. Once sprouted, you’ll transplant into well-draining soil and watch those first leaves unfurl within 2-3 weeks.
The key is keeping the soil consistently moist (not soggy) while giving them 6+ hours of sunlight daily. Young nectarine trees are fussy about overwatering—root rot is their #1 enemy. This method works for both outdoor planting in spring and indoor starts for early-season head starts.
Just remember: patience pays off, but cold stratification makes it fast—not slow. Ready to grow?
📚 In This Guide
- What you need
- Instructions
- Tips and common mistakes
- Wrapping up and next steps
What you need
- ● Nectarine seeds: Fresh, fully ripe nectarine pits (avoid store-bought seeds—opt for homegrown or organic for best results). Quantity: 5–10 seeds (more = higher success odds!).
- ● Paper towels or coffee filters: 1–2 sheets per seed for moisture control.
- ● Plastic zip-top bags: Quart-sized (1 per seed or small groups).
- ● Water: Room-temperature, filtered if possible.
- ● Refrigerator: A standard fridge with a crisper drawer (ideally 35–40°F / 2–4°C).
- ● Small pots or seed trays: 2–3 inch diameter pots with drainage holes (or a seed-starting tray). Quantity: 1 per sprouted seed.
- ● Potting mix: Lightweight, sterile seed-starting mix (avoid garden soil—it’s too dense!). Quantity: Enough to fill your pots ¾ full.
- ○ Spray bottle: For gentle watering (optional but helpful for precision).
- ● Plastic wrap or dome: To create a mini greenhouse effect (e.g., a clear plastic bag or humidity dome).
- ● Grow lights or sunny windowsill: A south-facing window or LED grow lights (12–16 hours/day) for post-stratification growth.
- ● Seed stratification log: A notebook or app (like Gardenate) to track moisture levels and days in the fridge.
- ● Heating mat: For pots to speed up germination (70–75°F / 21–24°C is ideal).
- ● Fungicide: A mild solution (like hydrogen peroxide 3%) to prevent mold if seeds stay damp.
- ● Label markers: To label pots with seed dates and varieties (if mixing types).
- ● Humidity tray: A shallow tray with pebbles and water to boost moisture for sprouts.
Step-by-step instructions for cold stratifying nectarine tree sprouts
Cold stratification isn’t just a trick—it’s the secret to breaking dormancy and getting those stubborn nectarine seeds to sprout reliably.
🌱 Step 1: Harvest and Prepare the Seeds
Collect fresh nectarine seeds from ripe fruit, but don’t rush—let them dry completely for 3-5 days at room temperature. This prevents mold and ensures they’re ready for stratification. I like to soak them in lukewarm water for 24 hours first to soften the hard outer shell, which speeds up the process later.
Once dried, place the seeds in a paper towel or moistened vermiculite inside a sealed plastic bag. The goal is to keep them damp but not soggy—think of a wrung-out sponge. Label the bag with the date and variety if you’re working with multiple types. This step mimics the natural winter chilling period the seeds would experience in the ground.
❄️ Step 2: Stratify in the Refrigerator
Store the sealed bag in your refrigerator’s crisper drawer for 8-12 weeks. The ideal temperature range is 35-45°F, which mimics a cold winter. Check the seeds every 2-3 weeks—they should feel damp but not wet. If condensation forms inside the bag, open it briefly to let excess moisture escape.
This cold treatment tricks the seed into thinking winter has passed, breaking its dormancy. You’ll know it’s working when the seed coat softens slightly—it’ll feel less hard and more pliable. Patience here is key; rushing the stratification often leads to weak or failed sprouts.
🌱 Step 3: Plant After Stratification
Once the 8-12 weeks are up, remove the seeds from the refrigerator and plant them ½ inch deep in a well-draining seed-starting mix. Use small pots or a seed tray—nectarine seeds are delicate and don’t like being disturbed. Keep the soil moist but not waterlogged and place the pots in a warm, bright spot (around 70-75°F).
Germination can take 2-4 weeks, so don’t give up if nothing happens immediately. I’ve found that covering the pots with a clear plastic dome or plastic wrap helps retain humidity and warmth, which speeds up the process. Once sprouts appear, remove the cover immediately to prevent damping-off disease.
☀️ Step 4: Provide Optimal Growing Conditions
When the first true leaves appear (not the initial seed leaves), move the seedlings to a sunny window or under grow lights for 14-16 hours of light daily. Nectarine seedlings need full sun to grow strong and avoid becoming leggy. If you notice the stems stretching or turning pale, your light source isn’t strong enough—adjust it closer or supplement with a grow light.
Water the seedlings gently at the base to avoid disturbing the roots. Overwatering is a common mistake—let the top ½ inch of soil dry out between waterings. Once the seedlings have 3-4 true leaves, they’re ready to be transplanted into larger pots or the ground, depending on your climate.
Tips & tricks for perfect nectarine tree germination
Stratification success comes down to these small details that make all the difference between weak sprouts and strong seedlings.
Seed Preparation: The 24-hour lukewarm water soak is your secret weapon for breaking through that tough outer shell. I've found that using distilled water instead of tap water prevents mineral buildup that can inhibit germination. After soaking, gently rub the seeds between two paper towels to further soften the shell—this mimics natural weathering that would occur in the wild.
Stratification Environment: While the 35-45°F range works for most refrigerators, I recommend placing a thermometer inside the crisper drawer to verify your exact temperature. Some newer models run cooler than older ones, and consistency is key during those critical 8-12 weeks. If your fridge runs warmer, consider using a seed stratification mat set to 40°F for more precise control.
Moisture Management: The "wrung-out sponge" test is your best friend here. If you're unsure about moisture levels, use a hygrometer to check humidity—aim for 60-70% relative humidity inside the bag. I've ruined batches by either letting seeds dry out completely or having them sit in waterlogged conditions. A small hole punched in the bag helps prevent condensation buildup while maintaining moisture.
Post-Stratification Care: When planting those ½-inch-deep seeds, I recommend using a fine mist spray bottle to water them rather than pouring from above. This prevents disturbing the delicate seeds and ensures even moisture distribution. The 70-75°F warm spot should be near a heat source but not in direct sunlight—think of it as creating a mini greenhouse environment.
Pro Tips for Nectarine Tree Sprout
- Stratification success comes down to these small details that make all the difference between weak sprouts and strong...
- Seed Preparation: The 24-hour lukewarm water soak is your secret weapon for breaking through that tough outer shell. ...
- Stratification Environment: While the 35-45°F range works for most refrigerators, I recommend placing a thermometer i...
Frequently asked questions
Got questions about cold stratifying your nectarine tree sprouts? You’re not alone! Here are some of the most common concerns—and quick, practical answers to help you grow strong, healthy trees.
How long does cold stratification need to last for nectarine tree sprouts?
For best results, cold stratify your nectarine seeds for 60–90 days in a moist, chilled environment (33–41°F). This mimics winter conditions and breaks dormancy. Pro tip: Use a mix of peat moss and sand for even moisture—avoid soggy soil, which can rot seeds!
Can I skip cold stratification and plant nectarine sprouts directly?
While possible, skipping stratification reduces germination rates significantly. Nectarine seeds are slow to sprout without it—expect weeks to months of waiting. If you’re impatient, try a hot-cold cycle (alternate 2 weeks warm, 2 weeks cold) for slightly faster results.
What’s the best temperature for germinating nectarine sprouts after stratification?
Once stratified, keep sprouts in 65–75°F soil for optimal germination. Use a seedling heat mat if your home runs cooler. Avoid direct sunlight until sprouts emerge—indirect light prevents leggy seedlings. Watch for mold! If humidity is high, add a fan for airflow.
Why aren’t my nectarine sprouts growing after stratification?
Common culprits: overwatering (rotting seeds), poor drainage, or inconsistent temps. Check your setup—seeds need moist but not soggy conditions. If they’re still dormant, try soaking in warm water for 24 hours before replanting. Patience is key—some take 30+ days to sprout!
Can I grow a nectarine tree from a grocery store fruit?
Yes! Save seeds from ripe nectarines, clean them, and stratify as usual. Note: Store-bought trees may not yield true fruit (they’re often hybrids). For reliable varieties, buy seeds from a nursery or online supplier. Bonus: Grafting later lets you control the fruit type!
Wrapping up and next steps
Growing nectarine tree sprouts from cold stratification isn’t just rewarding—it’s a game-changer for impatient gardeners! 🌱 With patience, the right materials, and a little chilly prep, you’ll soon be nurturing sturdy saplings ready to thrive in your backyard.
Remember, consistency is key, whether you’re monitoring moisture, protecting from pests, or keeping an eye on those first sprouts.
Ready to take the next step? Once your sprouts break through the soil, transplant them carefully into larger pots or directly into well-drained garden beds. Watch them grow—and soon, you’ll be harvesting juicy nectarines straight from your own tree! 🍑✨