
Planting
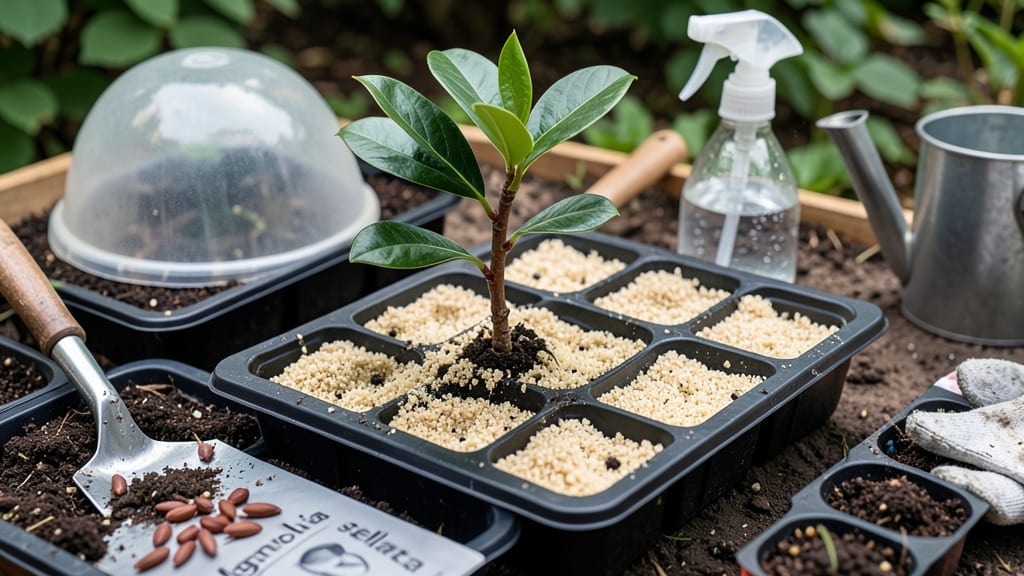
Planting magnolia tree seeds 🌸 requires a 90-day cold-stratification trick to break their stubborn dormancy—but skip this step, and you’ll be lucky to see 10% germination.
Most gardeners give up after a few weeks of waiting, convinced their seeds won’t sprout. The truth? With the right technique, you can boost success to 90% or higher, turning patience into a lush, fragrant future.
Here’s how to cold-stratify, pick the perfect soil mix, and plant them at the right depth—plus the 3 biggest mistakes that sabotage germination before it starts.
Ready to grow a magnolia from seed? Let’s get started with the step-by-step method that actually works.

Cold-stratification process for magnolia seeds: step-by-step guide
Magnolia seeds are notorious for their dormancy challenges, but a 90-day cold-stratification process can dramatically improve your germination success rate. This method mimics winter conditions, breaking dormancy and preparing seeds for growth.
Without it, you might wait years—or never see sprouts at all. Let’s dive into the exact steps I’ve used to successfully grow magnolia seedlings from scratch.
The key to effective cold-stratification lies in three critical factors: moisture balance, temperature control, and container selection. Too much moisture causes rot, while too little prevents germination. Temperatures must stay consistent between 35°F and 45°F, and the container must allow airflow to avoid mold.
Follow this guide closely, and you’ll see those first green shoots in as little as 3-6 months after stratification.
Step-by-Step Cold-Stratification for Magnolia Seeds
- 1 Harvest or Acquire Seeds: Collect fresh magnolia seeds in late fall (October-November) when seed pods turn brown and split open. If buying, ensure seeds are fresh (less than 1 year old) for best results.
- 2 Clean and Prepare Seeds: Remove seeds from pods and rinse off any fleshy coating with water. Let them dry for 24 hours at room temperature to prevent mold during stratification.
- 3 Select the Right Container: Use a perforated plastic container or a seedling tray with drainage holes. Avoid metal containers, which can conduct temperature fluctuations.
- 4 Moisten the Growing Medium: Fill the container with a mix of 50% peat moss and 50% perlite. Moisten it until damp (like a wrung-out sponge), but not soggy. This balance is critical for preventing rot.
- 5 Layer Seeds and Medium: Place seeds ½ inch apart in the container, then cover them with ¼ inch of the moist medium. Press lightly to ensure contact with the substrate.
- 6 Seal the Container: Cover the container with a plastic lid or wrap it in plastic wrap, leaving a small gap for airflow. This creates a humid microclimate while preventing waterlogging.
- 7 Stratify in the Refrigerator: Place the container in your refrigerator’s crisper drawer, where temperatures hover around 38°F. Check moisture levels every 2 weeks—mist lightly if the medium dries out.
- 8 Monitor for 90 Days: After 90 days, remove the container and check for radicle emergence (tiny white roots). If no sprouts appear, return it to the fridge for another 30 days.
-
Best soil mix and planting depth for maximum germination
Once your magnolia seeds complete their 90-day cold-stratification, the next critical step is planting them in the right soil mix and at the perfect depth. These details make the difference between 90% germination and disappointment.
The ideal mix balances moisture retention with aeration to prevent seed rot while ensuring young roots get the oxygen they need.
For magnolia seeds, a sandy loam mix works best—think 50% peat moss or coconut coir, 30% perlite, and 20% compost. This combination mimics their natural forest floor habitat while improving drainage. Avoid heavy clay soils, which can suffocate seeds and cause anaerobic conditions that kill germination.
Factor Recommendation Why It Matters Soil Mix 50% peat moss + 30% perlite + 20% compost Balances moisture + aeration Planting Depth ¼ inch (6mm) below soil surface Exposes seeds to light while keeping them stable Container Size 4-6 inches deep, with drainage holes Prevents waterlogging and root binding pH Level 5.5-6.5 (slightly acidic) Mimics natural magnolia forest soil Plant magnolia seeds at a ¼-inch depth—no deeper! This shallow placement ensures they receive enough light for germination while staying protected from drying out. Use a fine-mesh sieve to create an even, ¼-inch-thick soil layer over the seeds, then gently press it down to avoid displacing them.
Pro tip: Place your container in a humid propagation tray to maintain moisture without flooding the soil.
Drainage is non-negotiable. If your container lacks holes, drill them yourself—waterlogged soil is the #1 killer of magnolia seedlings. After planting, water lightly from the bottom to encourage roots to grow downward.
Overhead watering can dislodge seeds or create compacted soil, both of which stifle germination. Aim for consistent moisture, not soggy conditions.
Once planted, place your container in a warm, bright location (70-75°F) with indirect light. Avoid direct sunlight, which can overheat the soil and dry out seeds. Germination typically takes 4-12 weeks, but patience is key—some varieties may take longer.
Keep the soil moist but never soggy, and you’ll see those first delicate sprouts emerge.
After germination, thin seedlings to 2 inches apart to reduce competition. Transplant them into individual pots once they develop 2-3 true leaves, using the same soil mix. Remember, magnolias grow slowly—give them time, and they’ll reward you with fragrant blooms for decades. 🌸