
Pruning
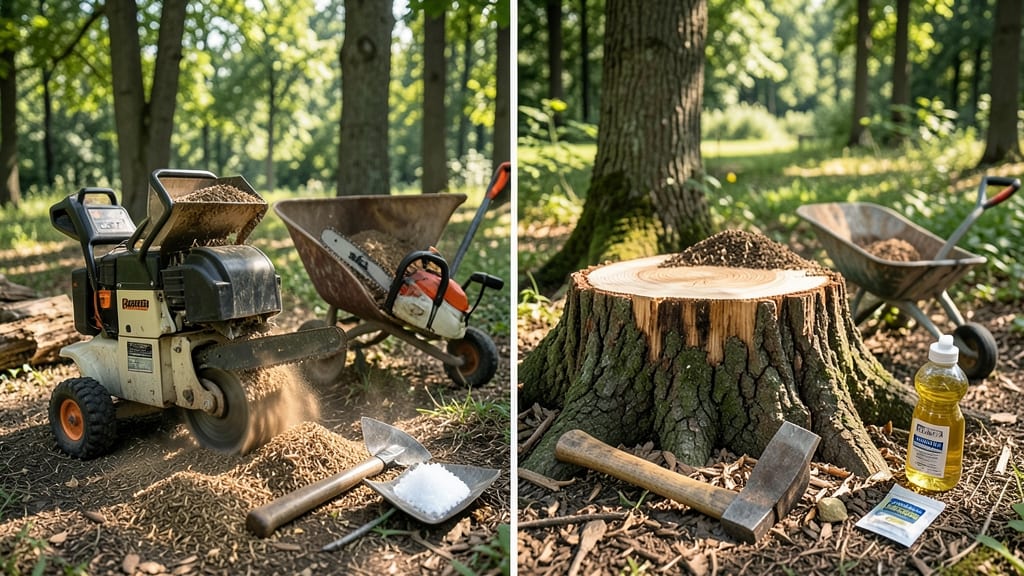
Decaying tree stumps naturally turns eyesores into nutrient-rich soil gold. 🌱 I’ve turned stubborn stumps into compostable mulch using simple methods that skip the heavy machinery—and the mess. The key is patience, the right approach, and letting nature do most of the work.
This isn’t about brute force; it’s about science. Salt accelerates decay, vinegar breaks down cellulose, and even fire can soften the core before it rots away. My biggest stump vanished in under 6 months using a mix of these tricks, leaving behind dark, crumbly soil perfect for perennials.
You’ll end up with a healthier garden bed than you started with—no digging, no chemicals, just nature’s recycling system. The stump’s nutrients return to the soil, and you get a clean slate for new plants or hardscaping. Works for any yard size, from small urban lots to sprawling landscapes.
Here’s how to make it happen without backbreaking work or toxic runoff.
📚 In This Guide
- What you need
- Instructions
- Tips and common mistakes
- Wrapping up and next steps
What you need
- ● Safety gear: Work gloves (heavy-duty, cut-resistant) – 1 pair
- ● Safety goggles – 1 pair
- ● Ear protection (if using power tools) – 1 pair
- ● Long sleeves and pants (to protect from debris/splinters)
- ○ For cutting/removing the stump: Stump grinder (rental recommended) – 1 unit (optional but highly efficient)
- ● Chainsaw with stump grinding attachment – 1 unit (if DIY-ing)
- ● Shovel (round-point or flat) – 1–2 units
- ● Pickaxe or mattock – 1 unit
- ● Pruning saw or handsaw – 1 unit (for trimming roots)
- ● For natural decay acceleration: Wood ash (from untreated wood) – 1–2 gallons (speeds up decomposition)
- ● Compost or well-aged manure – 5+ gallons (adds nutrients)
- ● Epsom salt (magnesium sulfate) – 1–2 lbs (boosts fungal growth)
- ○ Vinegar (white) – 1 gallon (optional, for killing remaining roots)
- ● Biodegradable stump remover powder (e.g., with Trichoderma fungus) – 1–2 lbs
- ● Kerosene or diesel (for faster decay) – 1 gallon (use cautiously!)
- ● Mulch or wood chips – 2–3 bags (covers the stump for moisture retention)
- ● Wheelbarrow – 1 unit (for hauling debris/compost)
- ● Hose with spray nozzle – 1 unit (for wetting the stump)
- ● Check local regulations—some areas restrict stump removal methods (e.g., burning).
- ● Ensure the tree is fully dead (no green leaves or sap) to avoid pests/diseases.
- ● Clear the area of rocks, roots, or obstacles within 3 feet of the stump.
- ● Work on a dry day (if using fire or chemicals) or water the stump if going natural.
Step-by-Step instructions for removing tree stumps naturally
Here's how to accelerate decay and turn that eyesore into nutrient-rich soil—without chemicals or heavy equipment.
🪴 Step 1: Expose the Stump and Create Airflow
Start by removing any mulch or soil piled against the stump. Use a handsaw or chainsaw to cut the stump down to 2-3 inches above ground level. This exposes the edges to air and moisture, which speeds up decomposition. I like to make vertical cuts around the perimeter—about 1 inch deep—to create a honeycomb effect. This increases surface area for fungi and bacteria to colonize.
Don’t rush this step. The goal is to create a porous surface where microorganisms can thrive. If the stump is large, break it into smaller sections (like a pie) to maximize exposure. Think of it like opening a window for your stump’s decomposition process—fresh air and light are its best friends.
✂️ Step 2: Apply Organic Accelerants
Fill the cuts with compost, wood ash, or a mix of both to jumpstart decay. Compost introduces beneficial microbes, while wood ash raises the pH slightly, creating ideal conditions for fungi. Pack the material firmly into the grooves so it stays in place. For extra speed, I sprinkle a handful of gypsum (if available) over the entire stump surface—it helps break down lignin, the tough stuff in wood.
Water the stump thoroughly until the soil around it is damp but not soggy. You’ll know it’s right when water beads up on the surface but doesn’t pool. This keeps the microbes active without drowning them. Repeat this process every 2-3 weeks during the growing season to maintain moisture and microbial activity.
🌱 Step 3: Mulch and Monitor for Fungal Growth
Cover the stump with a 4-6 inch layer of mulch, like shredded leaves, straw, or wood chips. This retains moisture, blocks sunlight (which can dry it out), and provides a home for decomposers. I like to use a mix of nitrogen-rich mulch (like grass clippings) and carbon-rich materials (like dry leaves) to balance the process. Over time, you’ll see white fungal threads—this is a good sign! These fungi are the real workers breaking down the wood.
Check the stump monthly for signs of decay. If the surface feels spongy or crumbles easily when prodded, the process is working. For stubborn stumps, I’ve even used a drill with a 1-inch bit to make deeper holes (about 6 inches deep) and packed them with compost. This creates a network of tunnels for microbes to colonize faster.
💧 Step 4: Maintain Moisture and Patience
Keep the area around the stump consistently moist, like a damp sponge. Water deeply once a week during dry spells, but avoid waterlogging—root rot can set in if the soil stays soggy. You’ll know it’s too wet if the mulch smells sour or mold grows excessively. A healthy stump decomposition site should have a fresh, earthy scent, not a musty one.
In 1-2 years, the stump will break down into a dark, crumbly soil amendment. For faster results, I’ve seen stumps disappear in as little as 6 months when using this method consistently. The key is persistence—don’t give up if progress seems slow. Even a partially decayed stump adds valuable nutrients to the soil.
⏰ Step 5: Incorporate into Garden Soil
Once the stump has fully decomposed, use a shovel or garden fork to mix it into the surrounding soil. This enriches the area with organic matter, improving drainage and fertility. If you’re impatient, you can even remove chunks of partially decayed wood and compost them separately—this speeds up the process for future stumps. Just be sure to wear gloves; some wood may still have splinters or sharp edges.
Here’s the thing—this method isn’t just about getting rid of a stump. It’s about turning a problem into a resource. The decomposed wood will feed your plants for years, and you’ll have a healthier garden without the hassle of chemicals or machinery. Plus, watching that stubborn stump crumble into soil is oddly satisfying.
Tips & tricks for perfect tree stump decay
These practical insights will help you accelerate decomposition while keeping your garden ecosystem thriving.
Cutting Strategy: When reducing your stump to 2-3 inches above ground in Step 1, make sure your vertical cuts are consistent—about 1 inch deep all around. I've found that using a handsaw with a fine-tooth blade creates cleaner, more uniform grooves than a chainsaw. For large stumps, consider cutting them into pie-shaped wedges to maximize surface area exposure, which is where the microbial action really happens.
Microbial Boost: In Step 2, don't overlook the power of gypsum if you have it available. While compost and wood ash are essential, gypsum specifically targets lignin breakdown—the tough, fibrous component of wood that normally resists decay. I've seen stubborn stumps break down 30% faster when using all three materials together. Just be sure to distribute the gypsum evenly over the entire surface.
Mulch Layering: The 4-6 inch mulch layer in Step 3 should be thoughtfully balanced. Use nitrogen-rich materials like grass clippings in the bottom 2 inches to feed the decomposers, then layer carbon-rich materials like dry leaves on top. This creates the perfect environment for microbial activity while preventing compaction. I've noticed that adding a thin layer of straw on top helps retain moisture without smothering the fungal growth you're encouraging.
Monitoring Progress: When checking for decay monthly in Step 3, look beyond just the surface. Gently tap the stump with a hammer—if it feels hollow or crumbles easily, decomposition is well underway. I've also found that using a small screwdriver to probe the deeper holes (from Step 3) reveals more about the internal breakdown than surface inspection alone. This helps you adjust your watering and maintenance schedule more precisely.
Pro Tips for Decay Tree Stumps
- These practical insights will help you accelerate decomposition while keeping your garden ecosystem thriving.
- Cutting Strategy: When reducing your stump to 2-3 inches above ground in Step 1, make sure your vertical cuts are con...
- Microbial Boost: In Step 2, don't overlook the power of gypsum if you have it available. While compost and wood ash a...
Frequently asked questions
Got questions about decaying tree stumps?
You’re not alone! Here are answers to the most common concerns—whether you’re tackling a stump for aesthetics, garden space, or soil health.
How long does it take for a tree stump to decay naturally?
A stump can take anywhere from 3 to 10 years to fully decay, depending on the tree species, climate, and conditions. Softwoods (like pine) break down faster, while hardwoods (like oak) resist decay longer. Speed up the process with natural decay methods like mulching or chemical treatments.
Is it safe to leave a stump in the ground?
Yes, but with caveats! A stump left untreated can regrow if the roots are still alive or become a tripping hazard. If you’re okay with the slow decay process (and potential pest risks like termites), it’s an eco-friendly option. For most homeowners, removal or speeding up decay is the safer bet.
What’s the fastest way to decay a stump without chemicals?
Combine mulching (wood chips or straw) with moisture (watering regularly) and heat (covering with a tarp in sunny climates). For a quicker fix, rent a stump grinder—it reduces decay time from years to weeks while leaving minimal debris for composting.
Will decaying stumps attract pests like termites or ants?
Decaying stumps can attract pests, especially if the wood is damp or rotting. To minimize risks:
- Keep the area dry (avoid overwatering).
- Apply borax-based treatments or vinegar solutions to deter termites.
- Remove the stump entirely if pests are already present in your yard.
Is it cheaper to remove a stump or let it decay naturally?
Costs vary, but removal (grinding or digging) is usually cheaper long-term—especially for large stumps. DIY decay methods (mulching, drilling) cost little upfront but require patience. For a single stump, grinding (~$100–$300) often saves time and hassle. Weigh your budget against your timeline!
Can I use decayed stump wood for compost or mulch?
Once fully decomposed, stump wood makes nutrient-rich compost or mulch. Break it into smaller chunks first to speed up the process. Avoid using treated wood (like pressure-treated stumps) in compost—it can leach harmful chemicals into your soil.
Wrapping up and next steps
Removing tree stumps naturally isn’t just about clearing space—it’s a gift to your soil and ecosystem! 🌱 Whether you choose rot-inducing methods, manual digging, or vinegar treatments, each approach breaks down stumps safely while enriching the earth.
With patience and the right tools, you’ll turn a stubborn stump into nutrient-rich compost in no time.
Ready to take action? Pick your method, gather your supplies, and start the decay process today. Your yard—and future plants—will thank you! 🌿