
Pruning
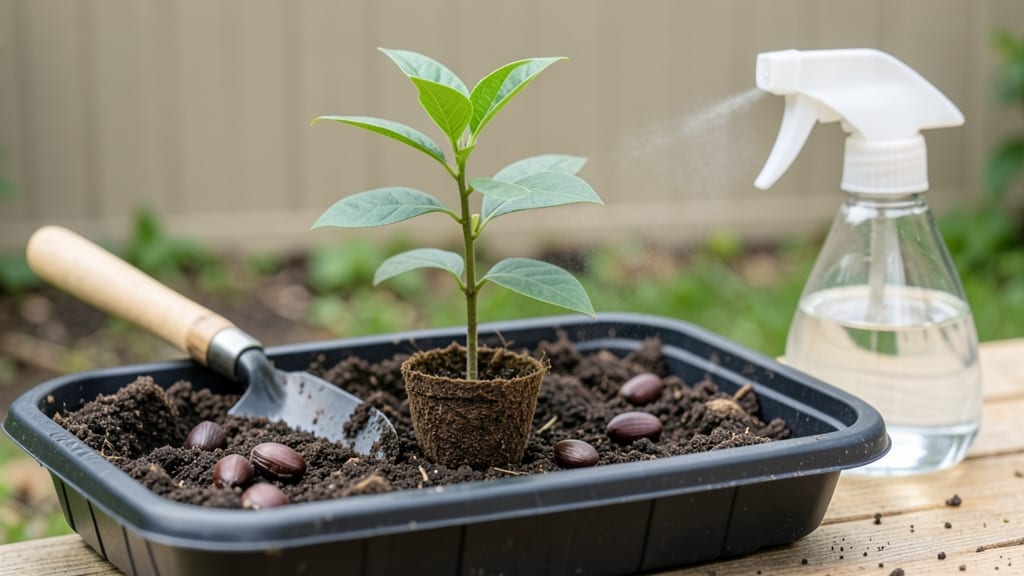
Growing camphor tree seeds is the slow-and-steady way to get one of nature’s most fragrant giants in your yard. 🌱 The key to cracking their stubborn dormancy? A 6-week cold-stratification trick that mimics winter’s natural timing—no fancy equipment needed, just patience and a fridge.
These seeds take their time, often weeks before sprouting, but once they do, you’ll recognize the thick, glossy leaves of a true camphor.
The process starts with sourcing fresh seeds (store-bought ones rarely work) and a simple mix of sand and peat moss to keep them moist but not soggy during stratification.
By the time those first shoots push through, you’ll have a tiny tree with big potential—fragrant foliage, elegant form, and that signature camphor scent that repels mosquitoes. Just be ready for slow growth; these aren’t fast plants, but they’re worth the wait.
Perfect for gardeners with space and time to nurture a future shade tree. Here’s how to do it right the first time—no guesswork, just proven steps.
📚 In This Guide
- What you need
- Instructions
- Tips and common mistakes
- Wrapping up and next steps
What you need
- ● Camphor tree seeds (Cinnamomum camphora): 10–20 fresh, viable seeds (harvested within the last 6 months for best results).
- ● Cold-stratification medium: Option 1: 1–2 paper towels or coffee filters (unbleached, seed-safe).
- ● Option 2: 1 small plastic bag (resealable, 1–2 quart size) with a dampened peat moss or perlite mix (1:1 ratio).
- ● Water: Room-temperature, distilled or filtered water (avoid tap water with chlorine).
- ● Storage container: A clean, lidded container (e.g., a ziplock bag or Tupperware) to hold the stratification setup.
- ○ Small spray bottle: For gentle moisture control (optional but handy!).
- ● Label & marker: To tag your seeds with the date and type (e.g., “Camphor – Stratified Jan 2024”).
- ● Refrigerator: A cold but not freezing space (34–40°F / 1–4°C). Avoid the crisper drawer!
- ● Growing pots (for later): 4–6 small pots (3–4 inches wide) with drainage holes, filled with well-draining potting mix (e.g., cactus/succulent mix + perlite).
- ○ Heat mat (optional): If your home runs cool, a seedling heat mat (70–75°F) can speed up germination after stratification.
- ● Seed viability check: Soak seeds in warm water for 24 hours—sinkers are likely viable! 🌊
- ● Moisture control: The stratification medium should feel damp like a wrung-out sponge, not soggy.
- ● Label now! Avoid mixing up seeds—trust us, future you will thank present you. 📝
Step-by-step instructions for cold-stratifying camphor tree seeds
Here’s how to break dormancy and get those tough camphor seeds sprouting reliably.
🌱 Step 1: Soak Seeds to Soften the Hard Coat
Camphor tree seeds have an impermeable outer shell that blocks water, soaking is your first critical step. Place the seeds in a bowl of lukewarm water and let them soak for 24-48 hours. You’ll know they’re ready when the water turns slightly cloudy—this means the seed coats are softening. Swirl the bowl gently every 8 hours to prevent mold.
Don’t skip this step. Seeds that haven’t soaked properly may never germinate, leaving you wondering why nothing happened. After soaking, drain the water and let the seeds air-dry on a paper towel for 1 hour. This prevents rot when you plant them later.
💧 Step 2: Prepare the Cold-Stratification Mix
Fill a quart-sized resealable plastic bag with 2 parts peat moss and 1 part perlite—this lightweight mix holds moisture while allowing airflow. Moisten it until damp (like a wrung-out sponge), but not soggy. Camphor seeds need consistent moisture during stratification, so avoid overwatering now.
I like to mix the materials in a separate container first, then transfer them to the bag. This ensures even distribution and prevents dry spots where seeds might rot. Once mixed, press the soil lightly to settle it—you want air pockets gone but the texture loose enough for roots to penetrate.
⏰ Step 3: Layer Seeds and Seal for Stratification
Arrange the soaked seeds in a single layer on the moistened mix, spacing them 1 inch apart. Cover them with an additional ½ inch of the same mix, then seal the bag tightly. Place it in a refrigerator (not the freezer) where temperatures stay between 35-45°F—this mimics winter conditions and breaks dormancy.
Check the bag every 7-10 days for moisture. If the mix feels dry to the touch, mist it lightly with water and reseal. Condensation inside the bag is normal, but if you see mold (fuzzy spots), open it immediately to air out. Stratification takes 6-8 weeks, so patience is key—don’t rush it.
☀️ Step 4: Plant Stratified Seeds in Pots
After stratification, remove the seeds from the fridge and plant them ¼ inch deep in individual 4-inch pots filled with a well-draining potting mix. Camphor trees dislike soggy roots, so use a blend of 60% potting soil, 30% perlite, and 10% compost. Water gently until the soil is moist but not waterlogged.
Place the pots in a warm, bright spot with indirect light (like an east-facing window). Avoid direct sun at first—young seedlings are sensitive to heat stress. You’ll see the first true leaves emerge in 2-4 weeks, signaling successful germination. Keep the soil evenly moist but never soggy during this phase.
🌿 Step 5: Transition to Outdoor Conditions
Once seedlings have 3-4 sets of true leaves (not the initial seed leaves), it’s time to harden them off. Move pots outside to a shaded, sheltered spot for 2 hours daily, gradually increasing exposure over 2 weeks. Camphor trees are tropical but need this slow adjustment to prevent shock.
Watch for leggy growth—a sign of insufficient light. If stems stretch or leaves pale, supplement with a grow light for 12-14 hours daily. After hardening, transplant to the ground or larger containers. Camphor trees grow fast once established, so give them space—15-20 feet apart for mature trees.
Tips & tricks for perfect camphor tree sprouts
Breaking dormancy with these hardy seeds takes patience—but these tricks will help you avoid common pitfalls along the way.
Soaking Secret: The 24-48 hour soak is non-negotiable, but here's what nobody tells you—use distilled or dechlorinated water instead of tap water if possible. Chlorine can inhibit germination, and camphor seeds are sensitive to it. If you must use tap water, let it sit out uncovered for 24 hours first to allow chlorine to evaporate. After the soak, I recommend patting the seeds dry with a paper towel rather than air-drying for 1 hour—this prevents any moisture from getting trapped in the seed crevices during stratification.
Stratification Setup: When arranging seeds 1 inch apart in Step 3, think of it like laying out dominoes—leave just enough space to prevent them from touching. I've learned the hard way that crowded seeds can develop mold faster during the 6-8 week cold period. Pro tip: Place a small piece of cardboard or parchment paper between the seeds and the bag's plastic to prevent condensation from dripping directly onto them. This keeps them consistently moist without creating a soggy environment.
Moisture Management: Checking every 7-10 days for moisture is crucial, but don't rely solely on feel—use the "squeeze test." Gently press the mix between your thumb and forefinger: it should hold together briefly but crumble when released. If it forms a tight ball, it's too wet. The goal is to mimic spring rain showers—just enough moisture to keep things lively without drowning the seeds. I keep a spray bottle nearby for quick adjustments rather than opening the bag completely, which can introduce warm air and disrupt the cold process.
Light Transition: When your seedlings finally emerge after the 6-8 week wait, that 2-4 week germination phase requires careful light management. Start with bright, indirect light (like an east-facing window) and gradually introduce more direct light over a week. I've found that using a simple LED grow light on a timer for 12-14 hours daily prevents leggy growth—just position it 6-8 inches above the seedlings. The key is to avoid shocking them with too much light too soon after their cold dormancy period.
Pro Tips for Camphor Tree Seeds
- Breaking dormancy with these hardy seeds takes patience—but these tricks will help you avoid common pitfalls along the way.
- Soaking Secret: The 24-48 hour soak is non-negotiable, but here's what nobody tells you—use distilled or dechlorinated water instead of tap water if possible.
- Stratification Setup: When arranging seeds 1 inch apart in Step 3, think of it like laying out dominoes—leave just enough space to prevent them from touching.
Frequently asked questions
How do I know if my camphor tree seeds need cold stratification?
Most camphor tree seeds (Cinnamomum camphora) have a hard, thick coat that requires cold stratification to break dormancy. If your seeds fail to sprout after 2–3 weeks at room temperature, they likely need stratification. Look for wrinkled, unbroken seeds—these are prime candidates for the cold treatment.
Can I speed up germination beyond 6 weeks?
While cold stratification typically takes 6–8 weeks, you can try soaking seeds in warm water for 24–48 hours before stratification to soften the coat. After stratification, place them in a warm, humid environment (75–85°F) to encourage faster sprouting. Avoid overheating, though—consistent warmth works best!
What if my seeds still won’t sprout after stratification?
Try these troubleshooting steps:
- Check seed viability: Test a few seeds by scratching the outer layer—if the inner seed is firm and white, it’s likely viable.
- Adjust moisture: Keep the growing medium damp (not soggy) during stratification and germination.
- Try scarification: Lightly sand or nick the seed coat with a file to help water penetrate.
- Consider fresh seeds: Older seeds may lose viability; source fresh ones if possible.
Are there alternatives to growing camphor trees from seeds?
Yes! If seeds prove tricky, consider:
- Air layering: A propagation method for mature camphor trees where you encourage root growth on a branch before cutting.
- Cuttings: Semi-hardwood cuttings (4–6 inches long) in spring can root in perlite or sand with rooting hormone.
- Grafting: Less common but effective for preserving specific varieties.
These methods skip dormancy entirely but require a healthy parent plant.
Is camphor tree seed germination toxic or unsafe?
Camphor tree seeds themselves aren’t toxic, but the oil in the seed coat (and leaves) contains camphor—a compound that can be irritating if ingested in large amounts. Always wear gloves when handling seeds, and avoid inhaling dust. If growing indoors, ensure good ventilation. Pets and children should stay away during handling.
Wrapping up and next steps
Growing camphor tree seeds through cold stratification is a rewarding journey that unlocks the potential of these fragrant beauties in just six weeks! 🌱 With the right materials and patience, you’ll soon witness tiny sprouts bursting with promise—ready to thrive in your garden.
Whether you’re a seasoned gardener or a curious beginner, this method makes it simple and satisfying.
Now that you’re armed with the know-how, take the next step! Grab those seeds, set up your stratification station, and watch nature work its magic. Your future camphor tree is waiting—let’s get growing! 🌿✨